How to assemble an Alondra co-sleeping crib in 10 minutes (without being a handyman)
Have you decided toassemble the co- sleepingcribyourself at home? At Alondra we give you the option of assembly by our specialist technicians, although we design ourcribs so that their assembly is so easy that you can do it alone.
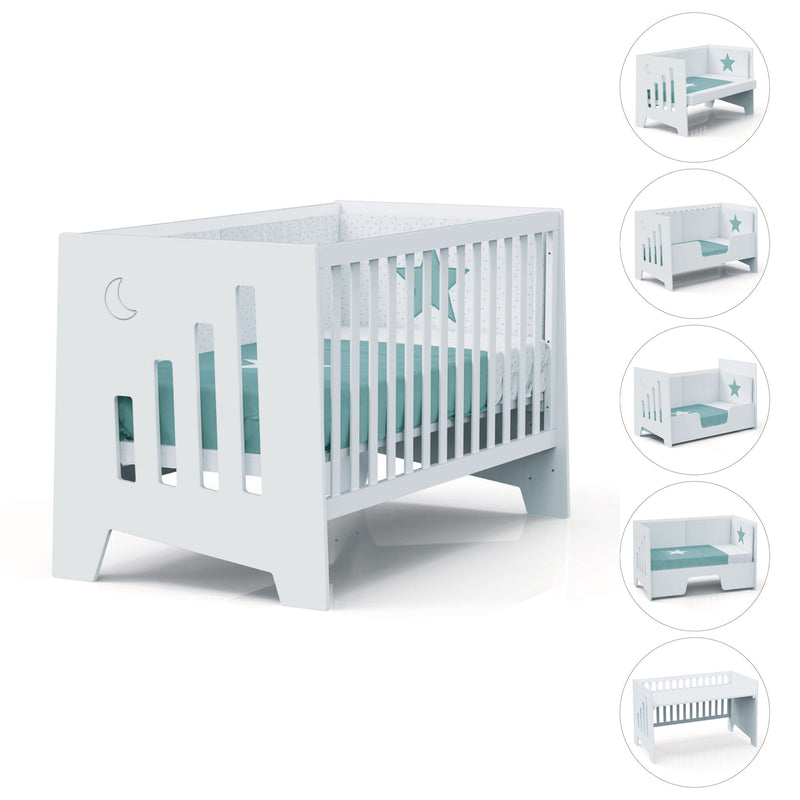
Elements and tools to assemble the OMNI 5-in-1 60x120 cm baby crib
When you receive ourwooden co-sleeping cribs , the content of the boxincludesall the elements that are part of the bed,as well as the fittings for its assembly.What do you think if we start by reviewing all the elementsthat you will receive to assemble your new co-sleepingcrib?
Two rails , that is, the sides of the crib.
Two headboards . These are the frontals of the crib to which the rails and the supports of the box spring are attached.
A box spring , that is, the base of the crib where the mattress rests.
Two bed base supports . These are the wooden slats that are bolted to the headboards and onto which the box spring is bolted. Therefore, they are in charge of supporting the mattress.
Four 35mm screws.
16 50mmscrews .
Eight 25mm screws.
Fourwheel supports .
Two wheels with locking system.
Two wheels without locking system .
An allen key.
To screw the components you simplyhave to get a manualstar-tipscrewdriver, since this is not included among the accessories.
Alondra's advice
Alondra's Design Department advisesagainst using power tools to assemble cribs, as these tools can exert excessive force and damage the product.
Hand tightening first is recommended, or if you wish,you can use the power tool first, but do the final tightening by handto personally measure the force exerted.
Remember that this is our example with the60x120 cm OMNI crib! Therefore, these are the components of this crib, sothe elements will varydepending on the modelyouchoose. However, as we have told you, the assembly ofourco-sleeping cribsis very similar, sothey are all just as easy and quick to assemble!
Steps to assemble the Alondra co-sleeping crib. It's super easy!
Without further ado,we will tell you the steps you must followwhenyou decide to assemble the Alondra baby crib at home.It will be very simple, since our products come with the necessary holes already made at the factory, so detecting them and screwing all the elements will not be complicated at all.
Thoroughly review all the contentsand parts of your Alondra co-sleeping crib . Prepare and arrange all the elements in your assembly area to have them at hand. It will make assembly much easier for you!
Take a look at the instructionsthat are included with the product. Our team has specially prepared them so that they are easy and quick to understand. In this way, you will make sure that you do not fail in the steps to follow.
oh! Make sure you have all the screws to mount the cradle closeto its mounting site. If you review and arrange them beforehand, the process will be even faster and you will anticipate possible doubts that may arise during assembly.
In the instructions for our cribs, all the elements are marked with a number, which will match the step-by-step assembly illustrations. So, you have all the elements to succeed!
To ride! The first thing you have todo isdecide the height at which you want to position the baby's mattress. Onceyou know what the ideal size for yourco-sleeping is ,screw the two bed base supports, one for each headboard.
Screw the rails to the headboards of the crib. When you finish this step you will have the main structure of yourco-sleeping crib assembled.
Insert the bed base from above until it reaches the bed base support and screw itto it.
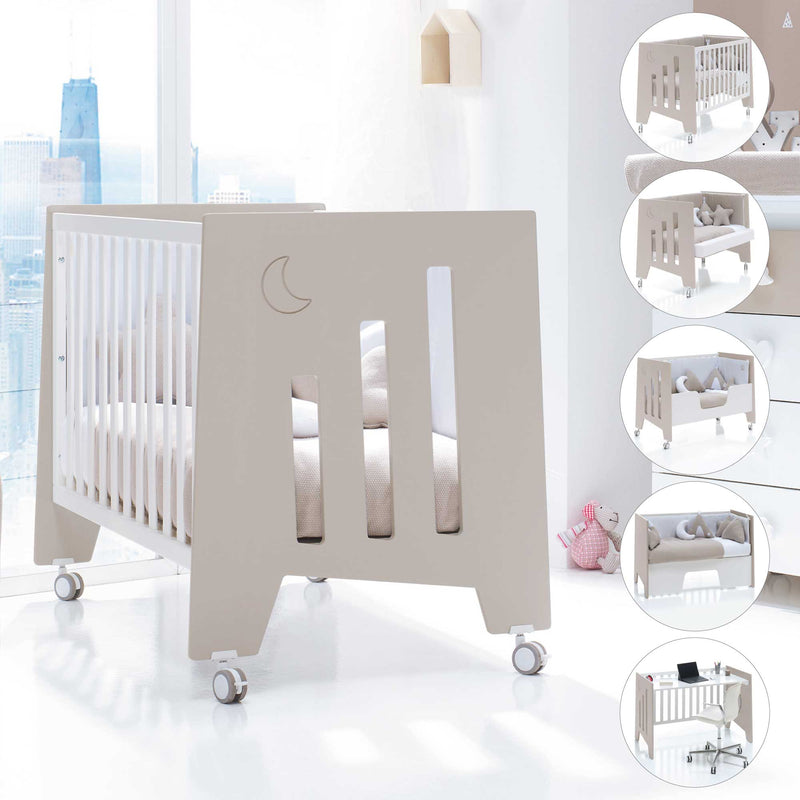
Carefully flip the crib frame over to gain access to the legs. You can rest it on the box or the plastic packaging so as not to scratch it. Finally, all you have to do isscrew the four supports for the wheels to the legsand theninsert them. At this point, you already have your5-in-1 OMNI cradleassembled!
Alondra advises you
OurDesign Department points out that it is very important to ensure thatyouscrewthe wheel holders to the basestraightandnot diagonally.In the case of not doing itverticallyyou can accidentally break the base of the headboard in that area.
But do not spread panic!It's very easy, because italreadyincludesthedrilled guide holes.
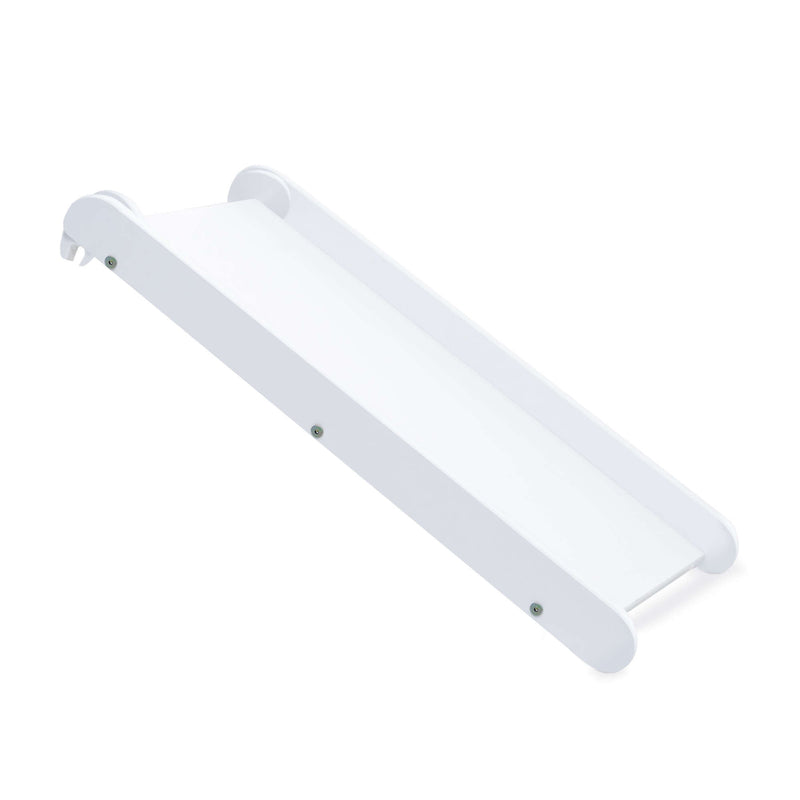
Prepare your crib to practice safe co-sleeping!To do this, you must also purchase the60x120 cm OMNI and Nexoco-sleepingkitor the70x140 cm OMNI XL co-sleepingkit. This kit includes a wooden board to extend the bed base, some joining and fastening straps between the cot and the large bed and a foam supplement to extend the mattress.
To fit it, remove the railing and screw the wooden extension board to the main bed base.This extension is slightly outside the main structure and makes it possible to lengthen the surface where the mattress for the baby goes.
Join theco-sleeping crib to the large bed with the joining tapes from your kit. These serve to unify and anchor the two beds. They are extensible, although they are suitable for beds with a maximum width of 200 cm.
Finally,finish anchoring the crib with the wheel blocking systemthat you havepreviouslyincorporated.These reinforce the anchorage provided by the straps and, thanks to the blocking, the non-mobility of the crib is ensured when your little angel is lying down.
Alondra's advice
At Alondra we recommendplacing the foam supplement to extend the mattress inside theco -sleeping crib . In this way you will avoid splitting your little one's mattress and it will be like asafer continuation of your bed.In any case, if you decide to place it on the outside of the crib, it will also fulfill its function.
After this quick review on howto assemble theco-sleeping crib at home, it's your turn to get down to work! We will always be willing to help you with everything you need, butif you decide to assemble the crib for your little one yourself,it will surely be a little more rewarding ;).
Holaaa!! Me gustaria saber cual es el espacio disponible que considerais o que tiene entre el colchón y los laterales o el colchon y los cabecersços. Queda totalmente ajustado, o hay 1-2 cm??
Aprende cómo usar un cojín de lactancia para dormir durante el embarazo y el posparto: bajo la barriga, entre las rodillas o como tope dorsal para descansar mejor y reducir tensión en caderas y lumbar. Además, descubre una alternativa 3-en-1 que ahorra espacio: el nido reductor Alondra.
Descubre cómo practicar yoga para embarazadas de forma segura: posturas recomendadas por trimestre, frecuencia ideal, beneficios del yoga en el embarazo y opciones de yoga prenatal online en YogaEmbarazadas.com, incluso si eres principiante.
Saber qué ofrecerle a tu bebé en cada mes es fundamental para su crecimiento. En esta tabla de alimentación para bebés de 0 a 12 meses encontrarás una guía práctica con todos los alimentos recomendados por etapas. Desde la lactancia exclusiva hasta la alimentación complementaria con consejos respaldados por pediatría para nutrir a tu pequeño correctamente.
Subscribe to our news and receive a practical guide to help you choose the best cot for your baby. You will also be the first to receive our latest news, offers, etc…


Holaaa!! Me gustaria saber cual es el espacio disponible que considerais o que tiene entre el colchón y los laterales o el colchon y los cabecersços. Queda totalmente ajustado, o hay 1-2 cm??