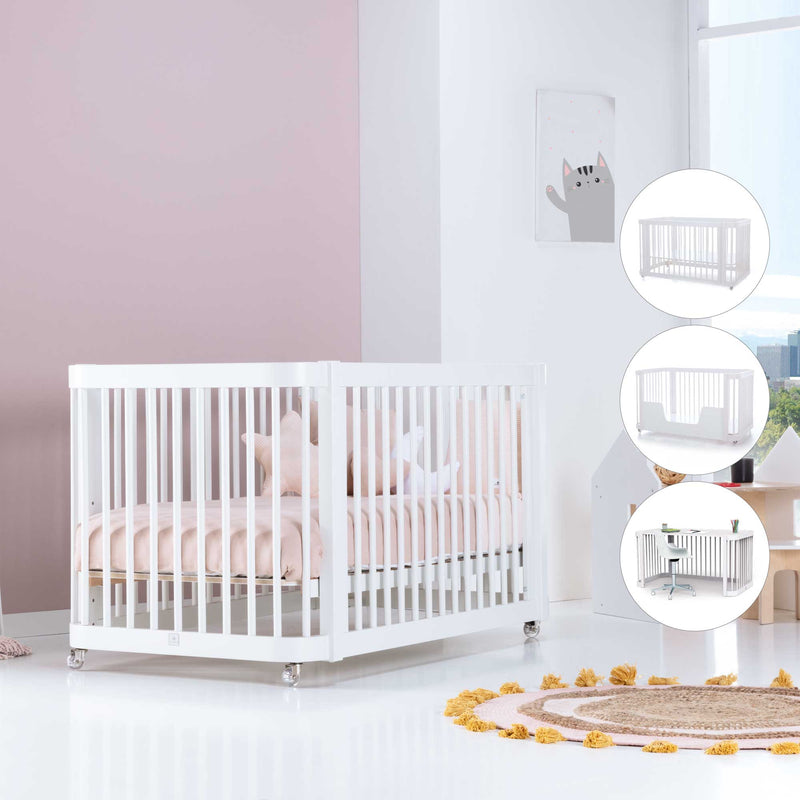
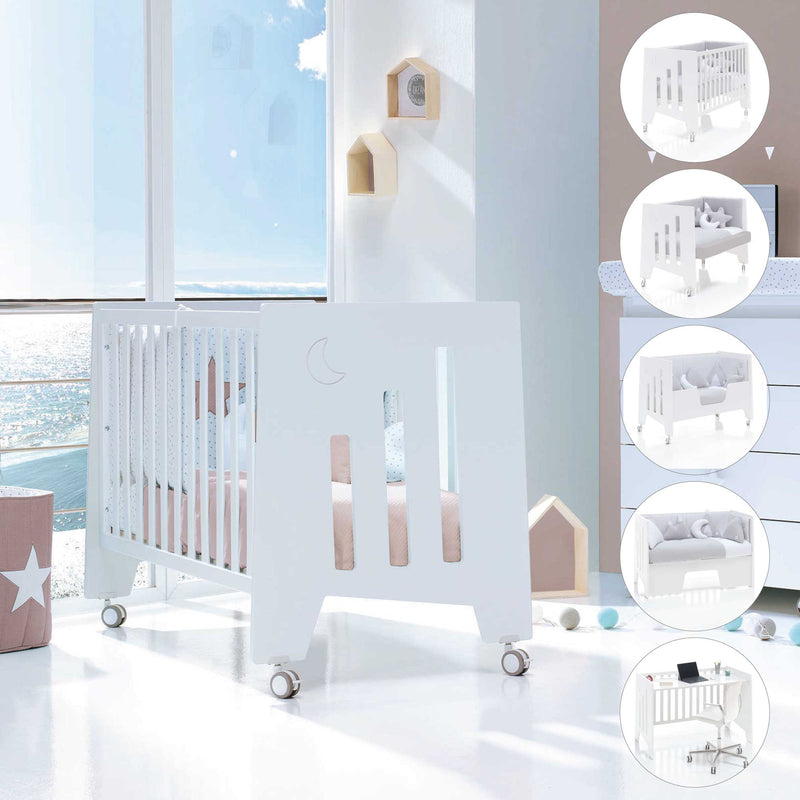
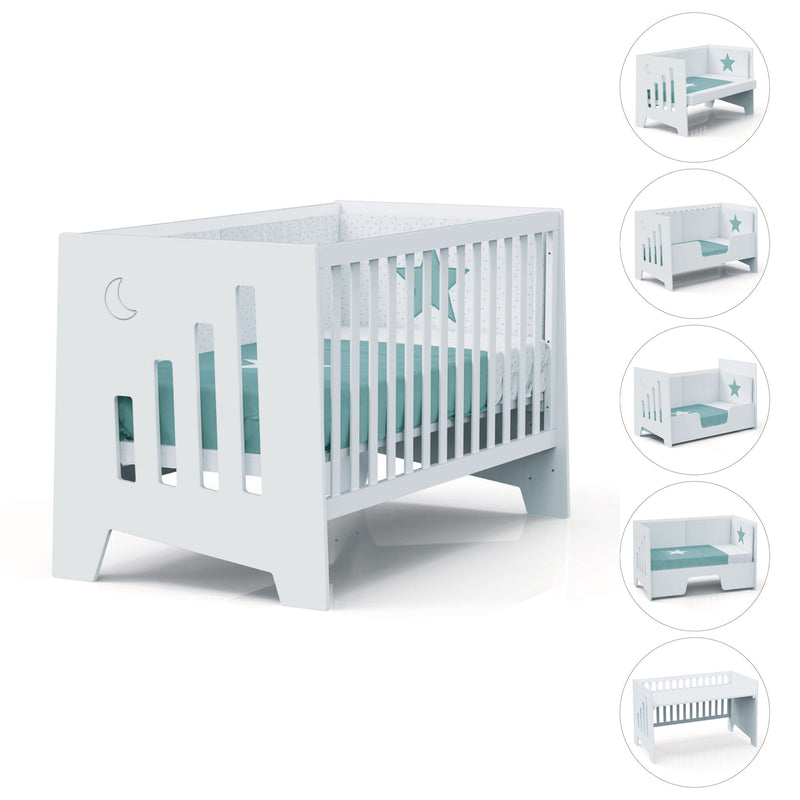
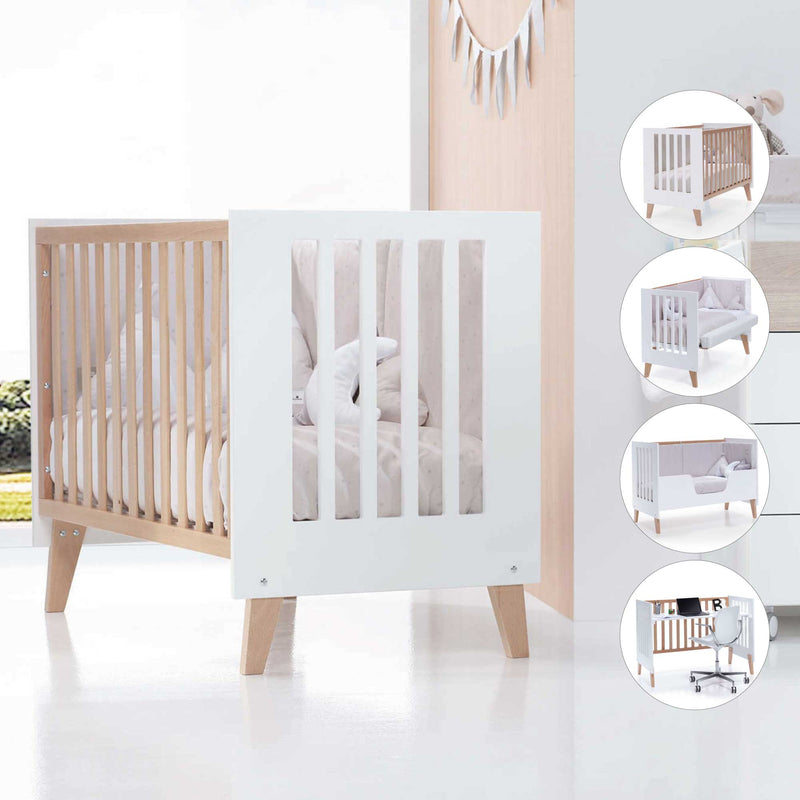
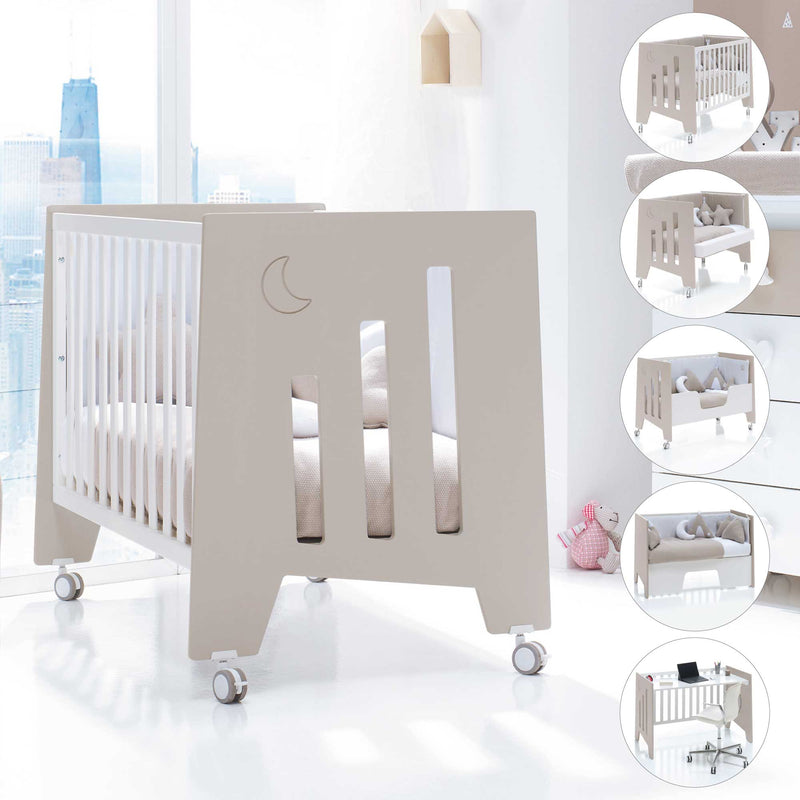
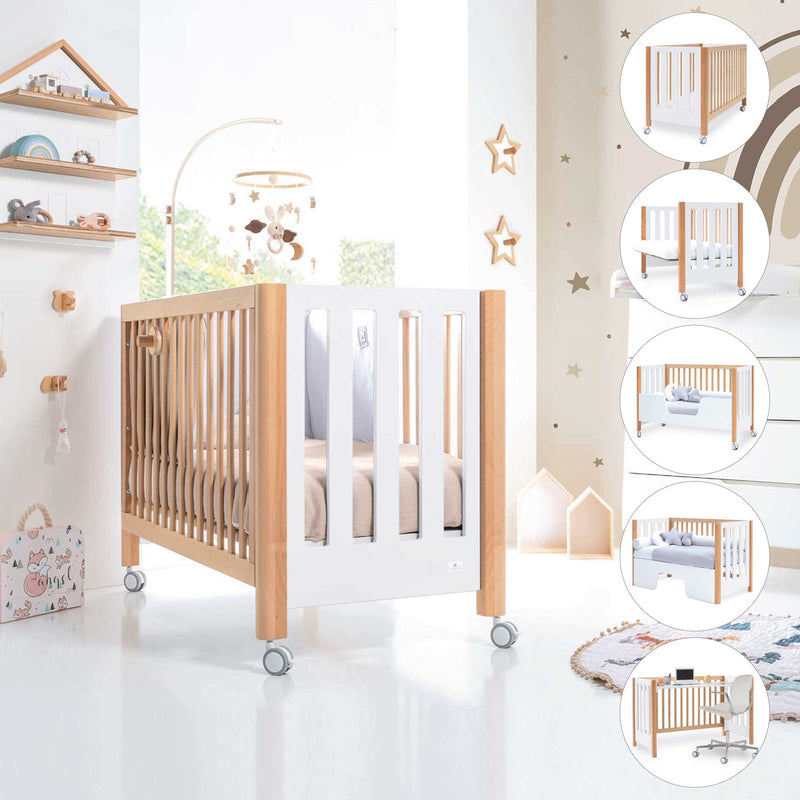
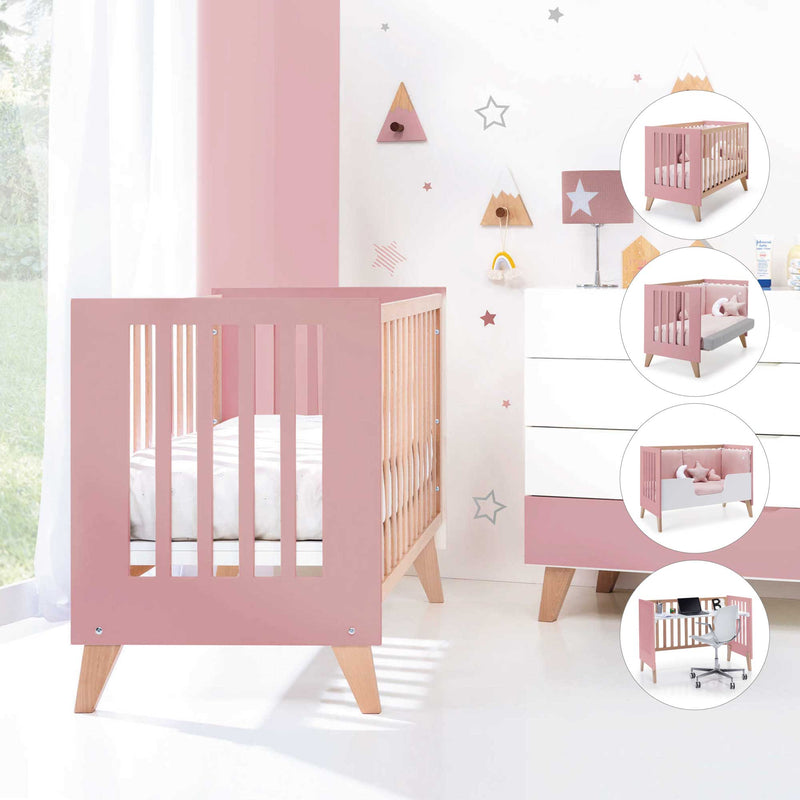
How to disassemble a 70x140 centimeter Alondra convertible crib
If you have an Alondra convertible crib or are thinking of buying one for your little angel, you will surely want to know and check how todisassemble a convertible cribwithout professional help. Let us anticipate that it is not complicated at all! In addition, at Alondra we always encourage you to assemble and disassemble our cribs at home, since we prepare them especially to be able to do it quickly and safely.
For the main assembly of the crib itself, you can include the service of our specialist technicians to carry out this task. However, disassembling the crib that can be transformed into a youth room is so simple that this service is not required. Despite this, we will always be happy to provide you with the contact information of the technicians closest to your area to carry out this task. Do not hesitate to contact us athola@alondra.es!
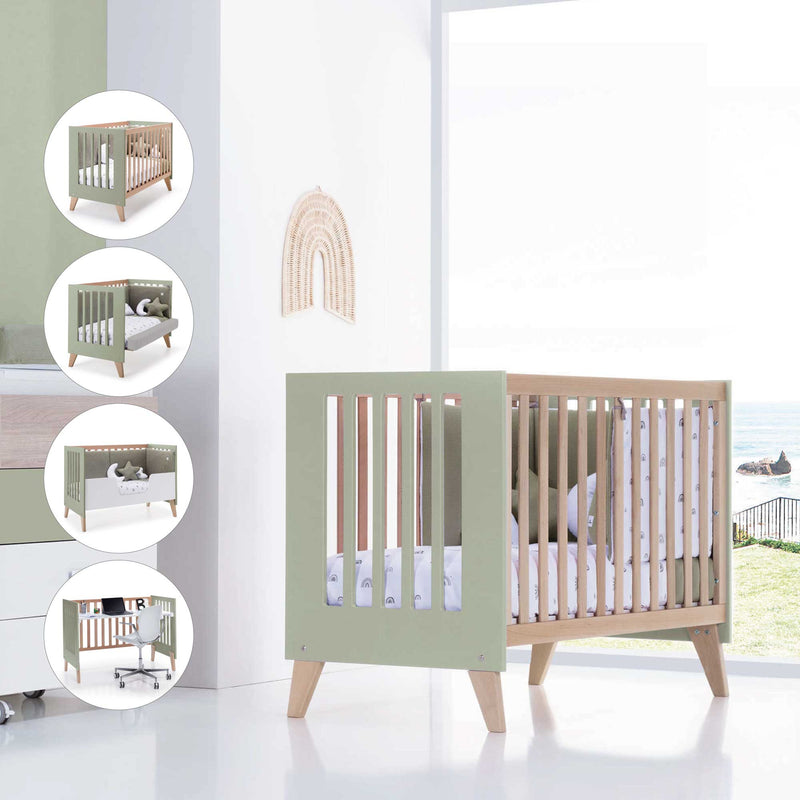
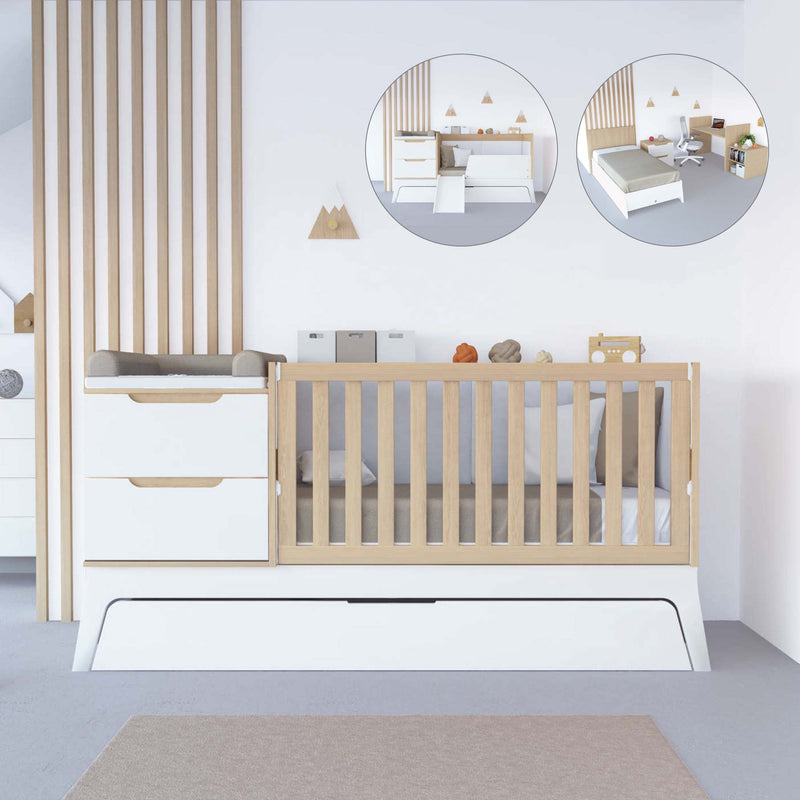
Elements and tools to disassemble the 70x140 cm Sero Bubble convertible crib
Disassembling a convertible crib will be the easiest task in the world! Keep in mind that all the main elements of the youth bedroom are already in the furniture itself as a cradle. So, the elements that you must include in the furniture once separated are about fittings and accessories that complete the ultimate purpose of the furniture.
oh! And all of them are included when you buy the bed, so don't forget to check and save everything to use it in a few years, when your little one needs his room when he grows up. Let's go there!
Four brackets hold mattress
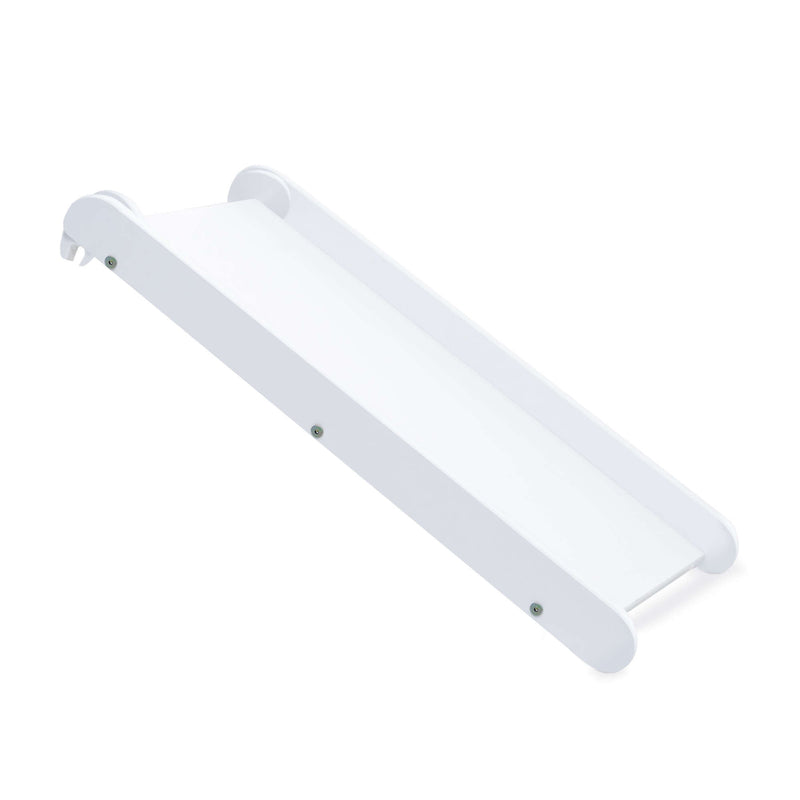
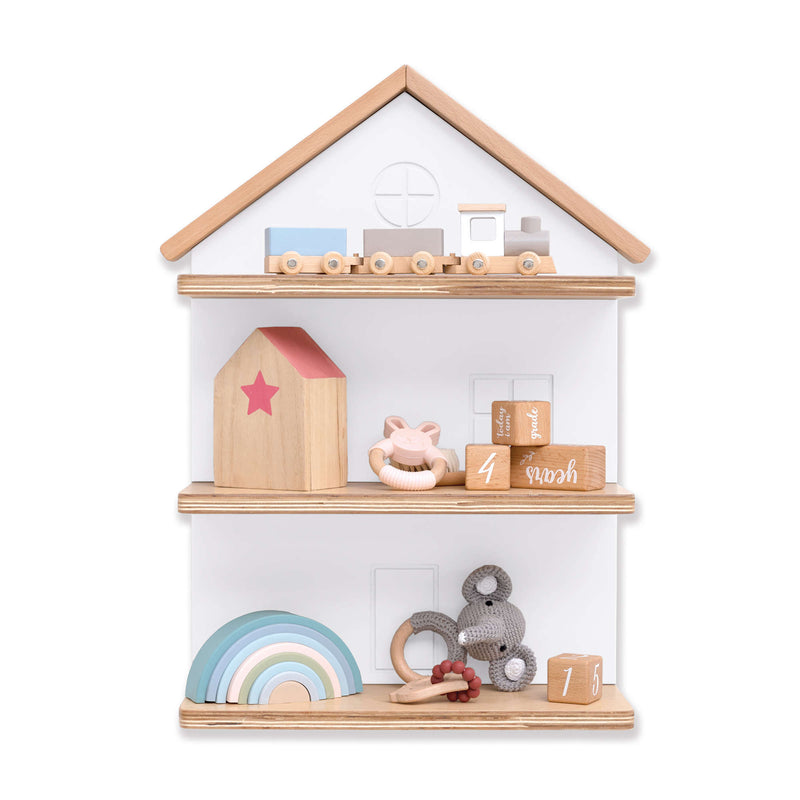
Two wheels with brake . The wheels are intended to make the book shelf mobile.
two wheels without brake
Four bolt-on plates with wheel studs
16 4 mm diameter wood screws . These are used to screw the plates of the wheels to the nightstand.
Eight non-slip studs . The non-slip ones serve to avoid scratches on the floor where the furniture that includes them is located. In addition, they will prevent the furniture from resting directly on the floor.
35 trims for 13 mm screw . Its name indicates it perfectly. The trims serve to cover and hide the visible holes of the fittings previously used in the assembly of the conventional cradle. So that they go unnoticed, these stickers have the same color as the main piece of furniture.
30 screw caps .
Allen key to unscrew some elements attached to each other in the convertible crib.
To screw the components, in this case only the plates with bolts, you will need ascrewdriver with a manual star tip. This tool is not included among the crib accessories.
THE COUNCIL OF ALONDRA
Alondra's Design Department advises against using power tools to assemble the cradles, as these tools can exert excessive force and damage the product.
Hand tightening first is recommended, or if you wish, you can use the power tool first, but do the final tightening by hand to personally measure the force exerted.
Steps to disassemble an Alondra convertible crib
And now, without further ado, we will tell you the steps you must follow to turn your little one's crib into a complete youth room!
1. Locate the crib'sinstruction manual . It will be essential to have him at all times.
2. Thoroughly check that you have all the necessary elements. The list of fittings is included in the instructions, so that you will be able to detect them quickly. And remember, when you buy the crib, save everything that is not used at that stage, since it will be what you need for this third stage of the bed.
Prepare and arrange all the elementsin your work area. This way you will have everything at hand and it will make assembly (or disassembly😉) much easier!
3. Take a look at the stepsgiven in the instructions. Our team has carefully prepared them so that they are quick and easy to understand . In addition to being supervisual! Most are made up of drawings that will guide you throughout the process.
In the instructions for our cribs, all the components you receive in the product package have an identification number . This number will match the numbers in the step-by-step instructions you need to follow.
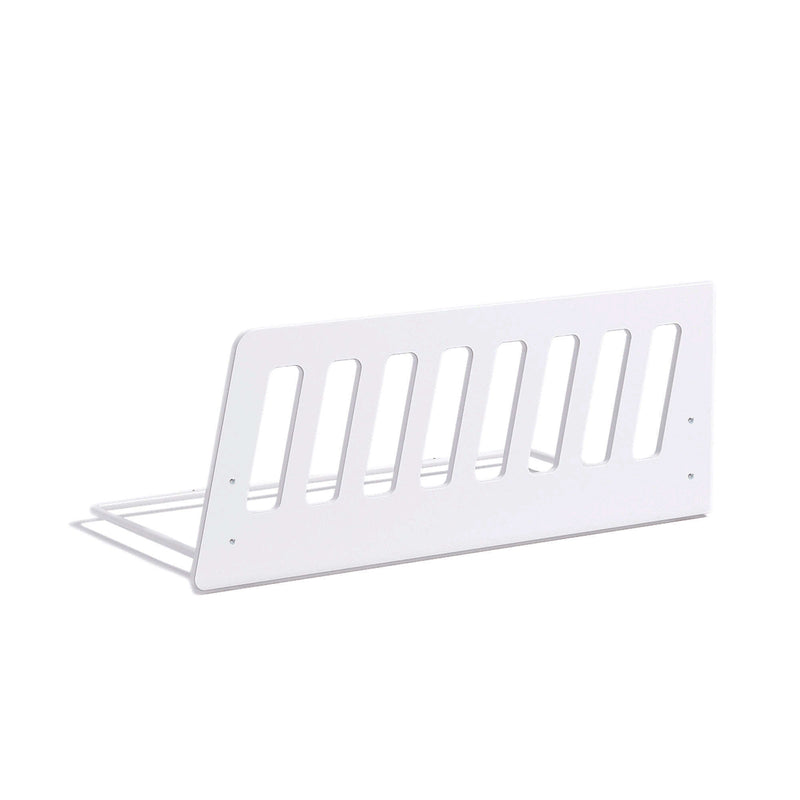
4 Ready for disassembly! The first thing you'll need to do is remove the rail and the bracket that secures it to the crib . In this way, the elements that remain and make up the rest of the furniture will already be the definitive ones for the youth bedroom.
5. Secondly, you must disengagethe desk, the nightstand and the book shelf from the base structure or box spring of the youth bed. Both for this step and for the previous one, you must use the screwdriver or Allen key, depending on the hardware used to join each component of the furniture.
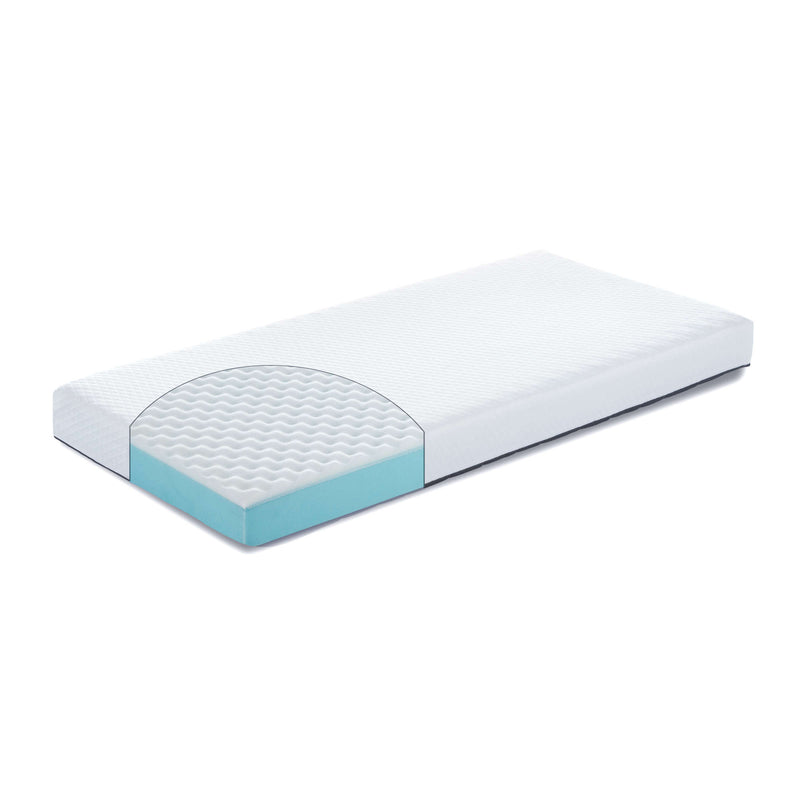
6. Once the main furniture has been removed, you can start by preparing the 90x200 cm bed . For this you will need the brackets to hold the mattress . You simply have to insert them into the corresponding holes that you can see in the drawings of the instruction manual.
To finish preparing the youth bed base, all you have to do is place the trims to cover the indicated holes . Remember that there are several sizes, so you should make sure which one is the right one for each perforation. Again refer to the manual!
7. The next step is to prepare the desktop . This furniture is equivalent to the walls of the baby's crib, so they are already attached from the beginning. Thus, you only have to apply the four non-slip studs on the legs. Since you need to lay the table on the floor, so as not to damage the piece or the floor itself, you can rest it on a blanket or some soft item you have at home.
When the anti-slips are on, you can now stand it up without risk of scratches on the bottom. To finish with this piece, visualize each hole again, identifying it in the instructions and cover it with the corresponding trim!
8. There is very little left! We can continue the tour with the book shelf . It is the only piece of furniture that needs to be screwed together. Indeed! To be able to add the wheels, you must screw the four plates with a bolt , one at each corner of the lower part of the shelf, with the lag screws .
Next you must insert the wheel and cover the perforations indicated in the instruction manual with the corresponding trims.
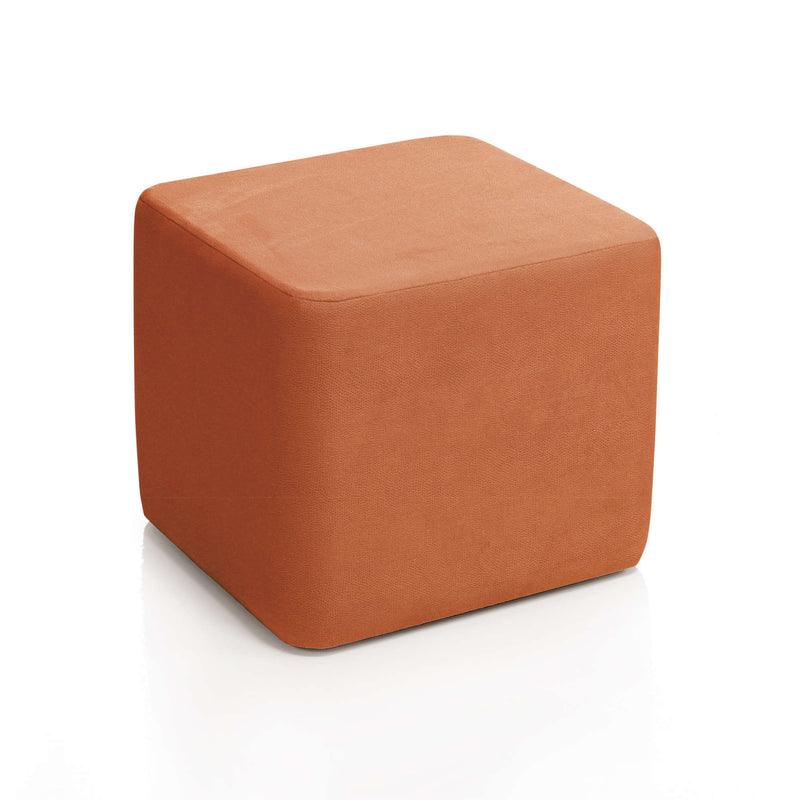
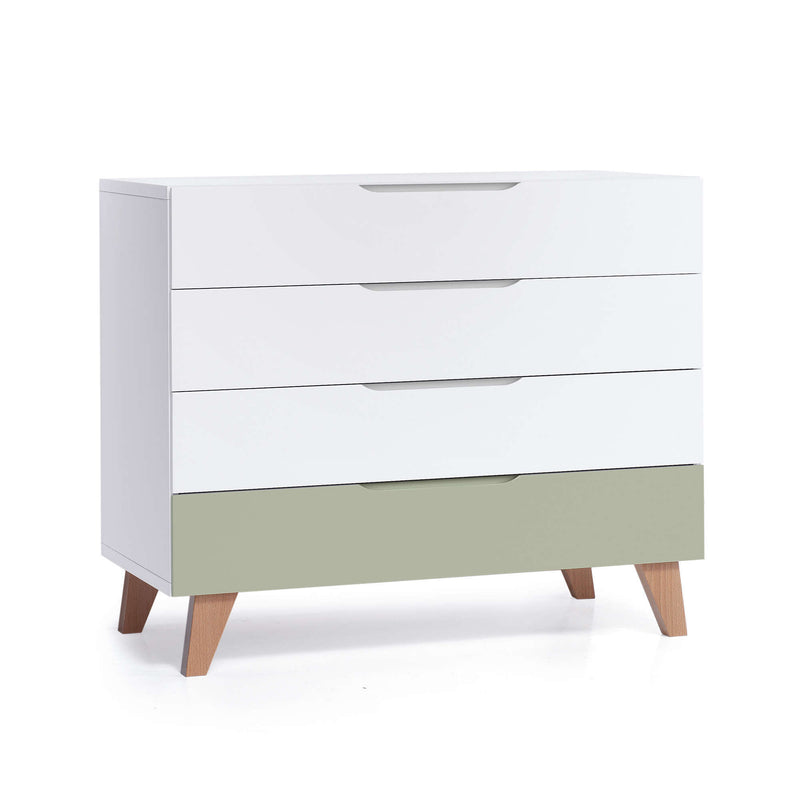
9. Finally, turn the table with drawers over , lay it on the floor on the same blanket or whatever you have used for the desk and add the non-slip studs
Ready! You already have all the furniture ready to condition your son or daughter's room so that they continue to develop their maturity in a perfectly adapted environment!
With all these steps,disassembling a convertible cribat home will be the easiest thing for your baby to grow up. You will be able to participate in the disassembly process, so you will feel valuable and self-sufficient. And to continue creating wonderful memories in your bedroom for a looooong time to come!
Aprende cómo usar un cojín de lactancia para dormir durante el embarazo y el posparto: bajo la barriga, entre las rodillas o como tope dorsal para descansar mejor y reducir tensión en caderas y lumbar. Además, descubre una alternativa 3-en-1 que ahorra espacio: el nido reductor Alondra.
Descubre cómo practicar yoga para embarazadas de forma segura: posturas recomendadas por trimestre, frecuencia ideal, beneficios del yoga en el embarazo y opciones de yoga prenatal online en YogaEmbarazadas.com, incluso si eres principiante.
Saber qué ofrecerle a tu bebé en cada mes es fundamental para su crecimiento. En esta tabla de alimentación para bebés de 0 a 12 meses encontrarás una guía práctica con todos los alimentos recomendados por etapas. Desde la lactancia exclusiva hasta la alimentación complementaria con consejos respaldados por pediatría para nutrir a tu pequeño correctamente.
Subscribe to our news and receive a practical guide to help you choose the best cot for your baby. You will also be the first to receive our latest news, offers, etc…